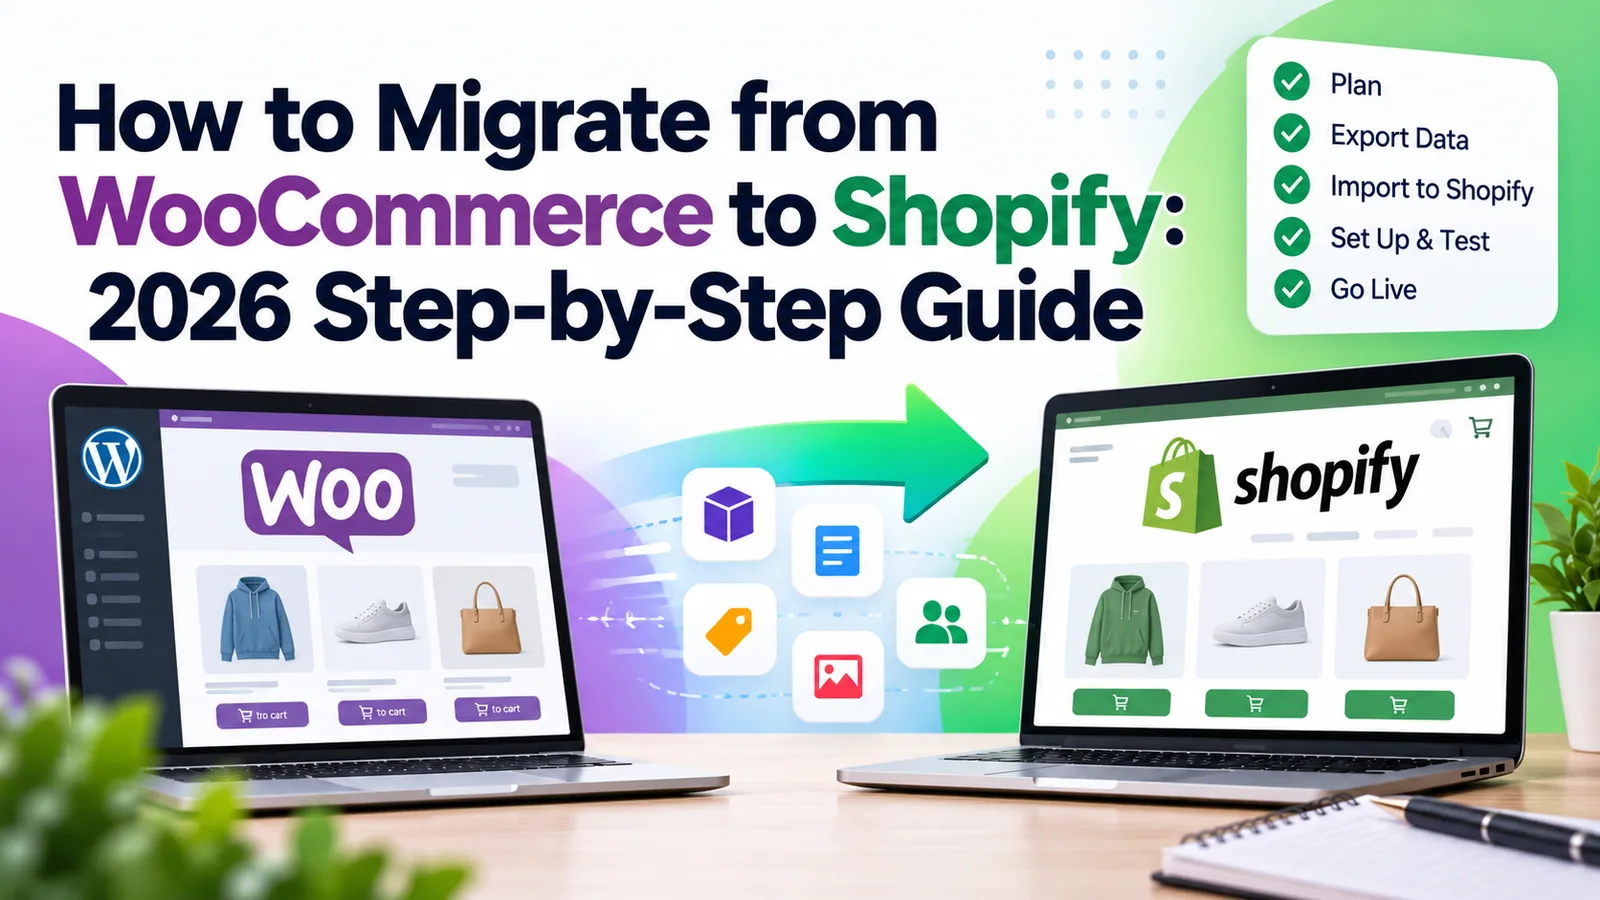
Moving from WooCommerce to Shopify is one of the most common replatforming projects for growing online stores. Done well, customers barely notice anything except a faster, simpler store. Done badly, you lose search rankings, order history and customer trust in the same week.
This guide walks through a safe WooCommerce to Shopify migration in 2026, step by step: what to plan, what moves (and what does not), how to protect your SEO with redirects, and how to test before you switch your domain. It is written for store owners and marketing teams who want to understand the process, whether you migrate yourself or hire a team.
Should you move from WooCommerce to Shopify?
WooCommerce is flexible, but you are responsible for hosting, updates, security, plugin conflicts and speed. Shopify is a hosted platform: the checkout, hosting and core security are handled for you, and you extend the store with themes and apps.
A move usually makes sense when:
- Plugin and theme updates keep breaking parts of the store
- Hosting, security and speed work take up more time than selling
- You want a checkout and admin your team can run without a developer
- You plan to grow into more markets, channels or point of sale
If your store depends on very custom WordPress functionality, list those features first and check how each one would work on Shopify (a theme feature, an app or custom development) before you commit. Still deciding between the platforms? Our Shopify vs WooCommerce comparison sets out the differences in cost, maintenance and flexibility.
What moves, and what needs extra work
Shopify's own migration guide covers products, customers, historical orders, gift cards, blog posts and pages, using CSV files, migration apps or the Shopify APIs. In practice, each type of data has its own path:
| Data | Usual method | Watch out for |
|---|---|---|
| Products and variants | Shopify's Store Migration app, a CSV import or a migration app | Shopify allows up to three options per product |
| Customers | CSV import or a migration app | Passwords cannot be migrated; customers set a new one |
| Historical orders | A migration app or the API | Staff may get a notification email for each imported order |
| Blog posts and pages | A migration app, or rebuilt manually | Formatting, images and internal links need checking |
| Reviews | The review app's own import tool | Choose your Shopify review app before migrating |
| URLs and SEO | URL redirects (manual or CSV import) | Shopify's URL structure differs from WooCommerce |
Step 1: Audit your WooCommerce store
Before you touch Shopify, write down exactly what you have. This list becomes your migration checklist and your testing plan.
- Catalog: number of products, variants, options, categories and tags
- Customers and orders: how many, and how much order history you really need
- Plugins: every active plugin and the job it does (reviews, subscriptions, filters, wishlists, shipping rules)
- Content: pages, blog posts, policies and important landing pages
- Traffic: your top pages in Google Search Console and Google Analytics, so you know which URLs matter most
- Integrations: email marketing, ERP, accounting, shipping and marketplace connections
Plugins are where most surprises hide. For each one, decide whether Shopify handles it natively, an app replaces it, or it needs custom work.
Step 2: Plan products, options and variants
Shopify's product model is simpler than WooCommerce's. According to the Shopify Help Center, each product can have up to three options (for example size, color and material), up to 2,048 variants and up to 250 media items.
Most stores fit easily. If some of your WooCommerce products use more than three attributes, decide how to handle them before importing: split them into separate products, move some attributes into metafields, or use an app that adds extra options. Shopify notes that products with more than three options will not have their options imported by its migration app.
This is also the right moment to clean up: remove discontinued products, fix inconsistent attribute names and make sure every product has a clear title, description and good images.
Step 3: Set up your Shopify store and theme
Start your Shopify store and build it while your WooCommerce store keeps selling. Nothing changes for customers until you move the domain.
- Choose a theme and customize it to your brand (our guide to choosing a Shopify theme covers what to look for)
- Recreate your navigation, collections and key pages
- Add the apps you picked in Step 1
- Rewrite policy pages (shipping, returns, privacy, terms) for how you will operate on Shopify
Step 4: Migrate your data
Products
Shopify offers a first-party Store Migration app for WooCommerce: you export your products from WooCommerce as a CSV, upload it to the app and import, and the app shows a report of what was imported. Shopify describes the app as early access, available for certain stores and on desktop. It imports products; customers and orders need another method.
For larger catalogs, or when you also need customers and orders, many stores use a migration app from the Shopify App Store or a developer who scripts the import through the Shopify API.
Customers
You can import customers with a CSV file. Shopify's customer import guide explains that passwords cannot be migrated from another platform, so after importing you invite customers to create a new password. Plan a short, friendly email for launch day that explains why.
Orders
Historical orders are useful for customer service and reporting, but think about how much you actually need. When importing them, check your notification settings first: Shopify warns that staff set to receive new order notifications can get an email for each imported order.
Content
Move your blog posts and pages, then check each one for broken formatting, missing images and internal links that still point to old WooCommerce URLs.
Step 5: Map URLs and create redirects
This is the step that protects your search rankings, and the one most often rushed. WooCommerce and Shopify use different URL structures. On Shopify, products live under /products/, collections under /collections/ and pages under /pages/, so almost every old product, category and page URL will change.
- Export a full list of your current URLs (from your sitemap, Search Console or a crawler)
- Match each old URL to its new Shopify URL in a spreadsheet, starting with your highest-traffic pages
- Import the list as URL redirects in Shopify (Content > Menus > View URL Redirects), either one by one or with a CSV file
- After launch, test a sample of old URLs and watch Search Console for new 404 errors
One detail to know: Shopify only redirects URLs that are broken. If an old URL still loads a real page on your Shopify store, the redirect for it will not run.
Also carry over your SEO basics: page titles, meta descriptions, image alt text and product descriptions. A migration is a good time to fix weak ones rather than copy them as they are.
Step 6: Set up payments, shipping and taxes
Shopify's checklist includes shipping zones and rates, tax settings for where you sell, and a payment provider (Shopify Payments or a third-party provider, depending on your country). In India, for example, Shopify Payments is not available, so stores connect a gateway such as Razorpay; see Shopify development for Indian businesses. Recreate your WooCommerce shipping rules carefully: flat rates, free shipping thresholds, local delivery and carrier-calculated rates often need adjusting on a new platform.
Step 7: Test before you launch
Place real test orders and walk through the store like a customer would:
- Browse on phone and desktop, search, filter and add to cart
- Complete checkout with each payment method and shipping option
- Check order confirmation emails, refunds and fulfillment
- Compare product counts, prices, inventory and variants against your WooCommerce export
- Log in as an imported customer and check the account invitation flow
- Test your analytics, pixels and marketing integrations
Step 8: Launch and monitor
When everything passes, connect your domain to Shopify, confirm your redirects work, and submit your Shopify sitemap in Google Search Console. For the first few weeks, watch:
- 404 errors and redirect gaps in Search Console
- Rankings and organic traffic for your top pages
- Conversion rate, checkout completion and page speed
- Customer emails and support tickets about accounts or orders
Keep your old WooCommerce site and database backed up (not public) until you are confident nothing is missing.
Common WooCommerce to Shopify migration mistakes
- Skipping redirects or only redirecting the home page, which throws away years of search visibility
- Importing messy data as it is instead of cleaning products and attributes first
- Forgetting plugins that quietly handled something important, like shipping rules or wholesale pricing
- Launching without test orders on every payment and shipping method
- Not telling customers they need to set a new password
- Migrating during your busiest season instead of a quieter period
How long does a migration take, and what does it cost?
It depends on the size of the catalog, how much history you move, how custom the design is and how many features need apps or development. A small store with a simple catalog can move quickly; a large store with custom features, lots of content and complex shipping needs more planning and testing.
Costs usually include your Shopify plan, a theme, any paid apps and migration tools, and design or development work. Our Shopify store cost guide breaks these down. For reference, our Shopify packages start from $799, and the Scale package from $2,999 includes migration support where required; we quote every migration after reviewing the store.
Migrating with Shreeji Software
Shreeji Software is an in-house team with more than 15 years of experience building websites and online stores. We plan and run WooCommerce to Shopify migrations end to end: the audit, data migration, theme design and development, redirects and SEO checks, and post-launch support. See our Shopify development services, our eCommerce solutions, or hire a dedicated Shopify developer if you want an expert working inside your team. If search visibility is your main concern, our SEO team can review your redirect plan before launch.